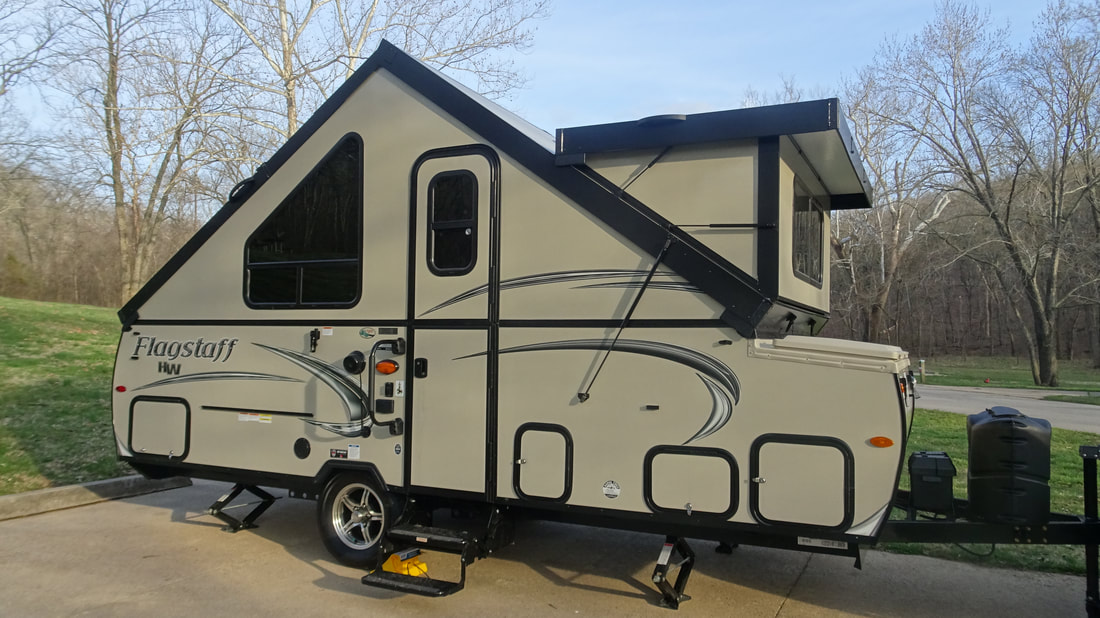
 We would like to introduce you to "Alf"! After many years tent camping on our park travels, we decided it was time for different living quarters while camping. We contacted the friendly team at Colman's Country Campers in Hartford, Illinois to find the perfect addition to our fleet! After talking with Daecus, our salesman, we decided on the Forest River Flagstaff model T21TBHW. Features of this model include: 2 twin beds with an insert to make a king bed; a kitchenette with a sink, 3-burner gas stove, a XL refrigerator, and a microwave; a Dometic HVAC unit; a cassette toilet; and a dormer for added room over the dinette. Below is our tour video from the day we bought it. As you can see, it is more spacious on the inside than it looks like on the outside! We couldn't wait to get it out for our first weekend of Camping. Luckily, the first weekend of April was BEAUTIFUL! We got a basic campsite at Onondaga Cave State Park in Central Missouri where some of our friends were camping as well. Please see below for our thoughts on our first weekend out in our new camper. The road trip planning is in full gear now, so please subscribe to our YouTube Channel to see more adventures with "Alf the A-Frame". Until then...Happy Camping! Click the pictures to start your purchase or see more product information. Experiment This goal of this experiment is to identify:
Experimental Design
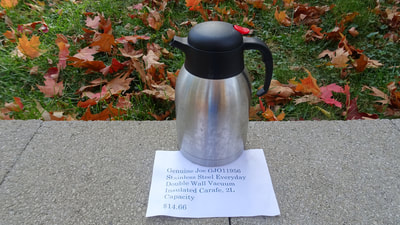
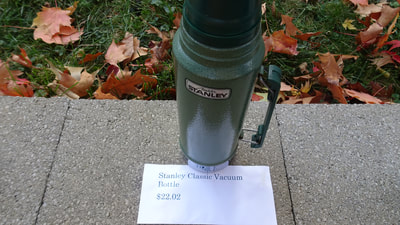
Links to Containers: Genuine Joe: http://amzn.to/2zgDiuJ Stanley Classic: http://amzn.to/2ziOhUE Starbucks: http://amzn.to/2zyAhJr Tervis: http://amzn.to/2y5k8Xu Ozark Trail: http://amzn.to/2zmMxf5 Yeti: http://amzn.to/2hdzdD4 Large Containers These containers are large enough to store at least 8 cups of coffee. We have two:
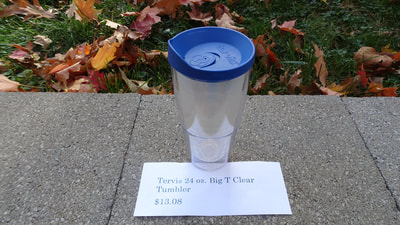
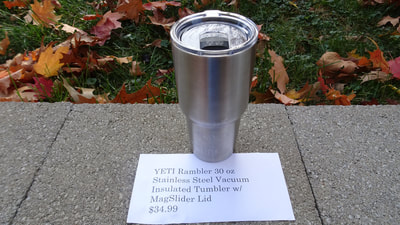
Cups These containers vary in size, but all are designed to allow one to use as portable cups from which to drink hot or cold liquids. There are four in this test:
Controls These containers serve as controls in the experiment. We have two controls:
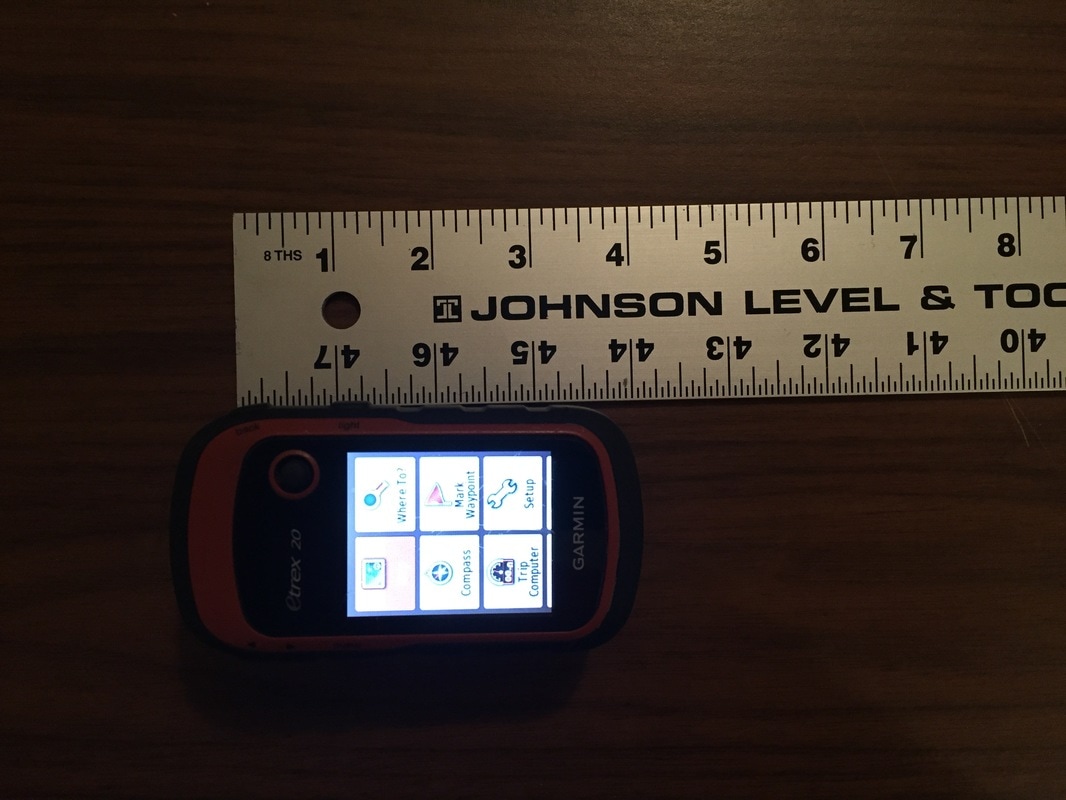
Results Initial Heat Loss Since all containers started at room temperature and the water started at boiling, the water will immediately transfer some heat to the vessel as soon as the water comes into contact with the surface. The first data point in the chart, measured at 2:20 PM, reflects this initial heat loss. It does include a very small time lapse – just enough necessary to get all the containers topped off with boiling water and temperatures measured. Gradual Heat Loss I measured the temperature of the water every half hour for three and a half hours. During this time, a clear pattern emerged. The large containers (Genuine Joe and Stanley Classic), which have the best storage volume to non-insulated surface area ratio, did the best. The second group was the vacuum insulated cup group (Yeti, Ozark Trail, Starbucks). This group of containers all did quite well, and roughly equal to each other. The third group consist of just the Tervis. It is insulted, but not as well as the vaccum insulated models. The graph reflects this. The control groups cooled the quickest, with the Hardee’s cup maintaining slightly higher temperatures throughout the test. This is expected since it is sort of insulated. Final Heat Loss After 3.5 hours, I only took two more readings. The first of these was at 7:50 PM, and the final was the next morning at 6:40 AM. While the test was not surprising in any way, the final reading at 6:40 AM made it abundantly clear which container is the best. Awards The device that kept the water hottest for the longest period of time was the Stanley Classic Vacuum Bottle. I have had this thermos for over twenty years, and I know it will last and can handle some abuse. The best container for drinking directly out of is the Ozark Trail. It performed about the same as the Yeti and the Starbucks, but cost about a third of the other two. I’d also like to give an honorable mention to the Tervis. It did not perform as well as the vacuum insulated models in this test, but in my experience, it works well. Plus, it is the only drinking container that is made in the USA. 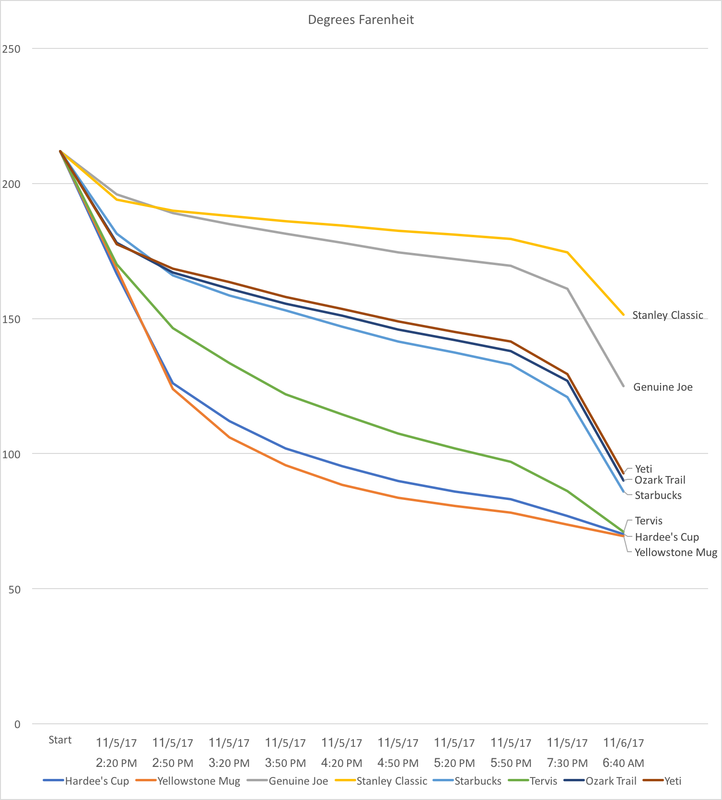 The Garmin eTrex 20 is an entry level GPS unit designed to meet the basic location tracking needs of the average hiker. It is small, lightweight, and reliable. I have had this unit long enough that I don't remember when I purchased it, but I know I used in when I took my family to Yellowstone National Park in 2013. 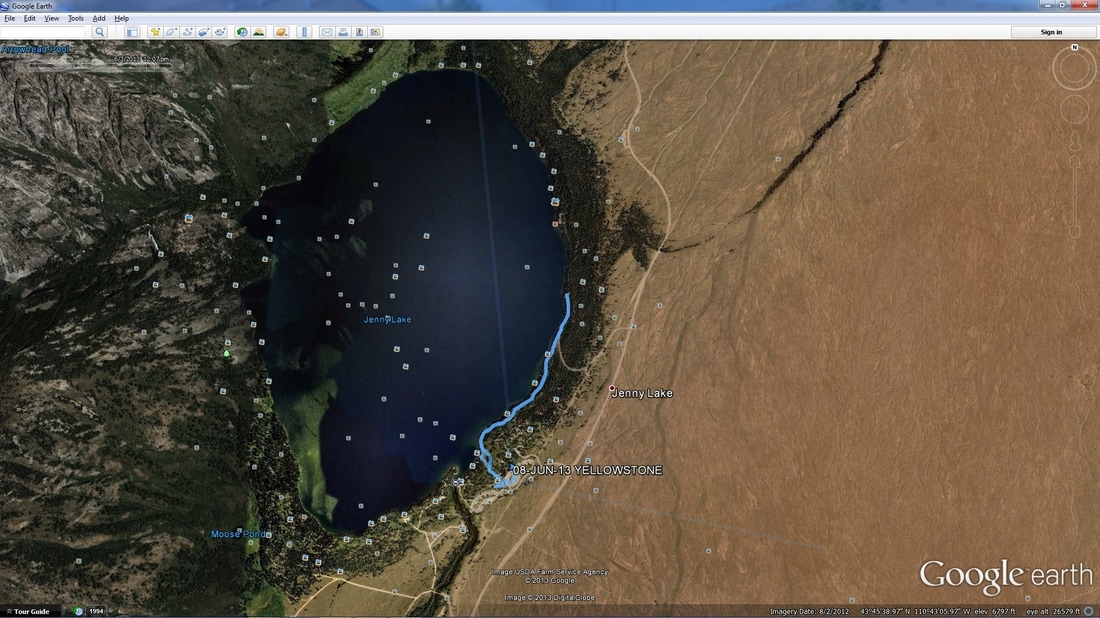
This image shows a hike we took in 2013 along the shore of Jenny Lake in Grand Teton National Park, just south of Yellowstone National Park. I uploaded the track information from the Garmin into Google earth to build this image.
Primary Use Case
The eTrex 20 has a number of features. However, the feature set I use is very focused on situational awareness on the trail. With that in mind, I'll start by describing my standard use case, and then go into some of the other features.
When I get to the trailhead, I go through a series of steps to orient myself and prepare for the navigation task. The standard day hike use case goes something like this:
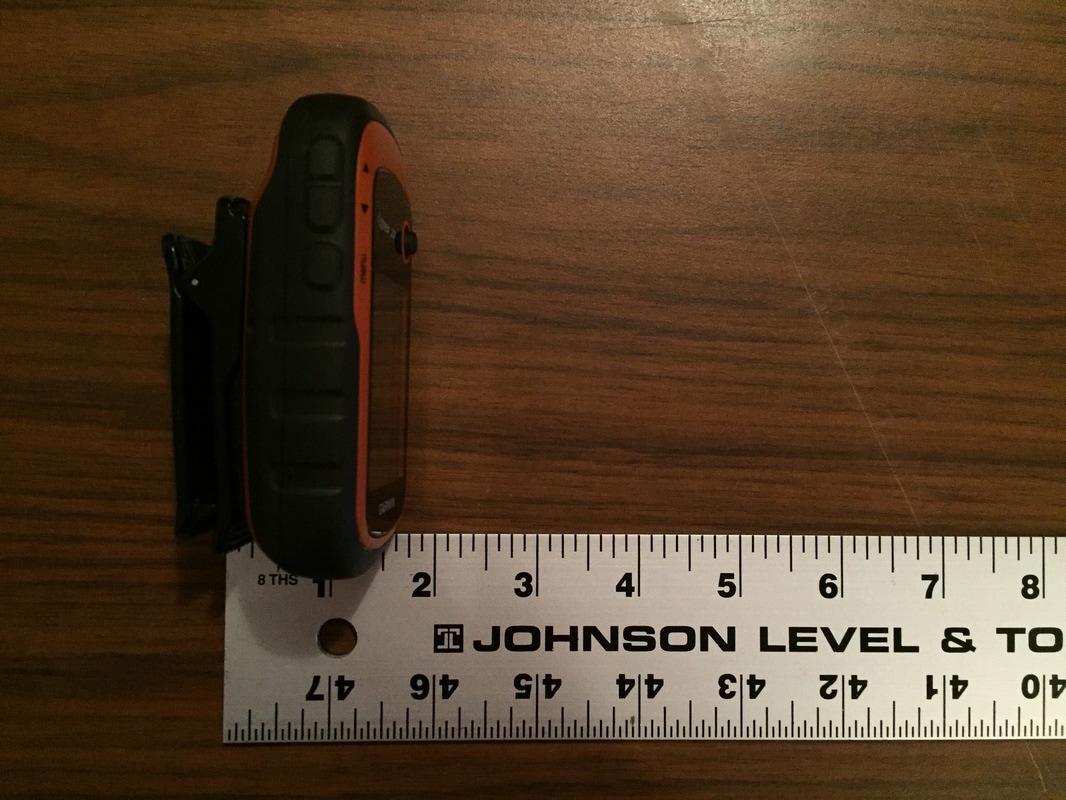
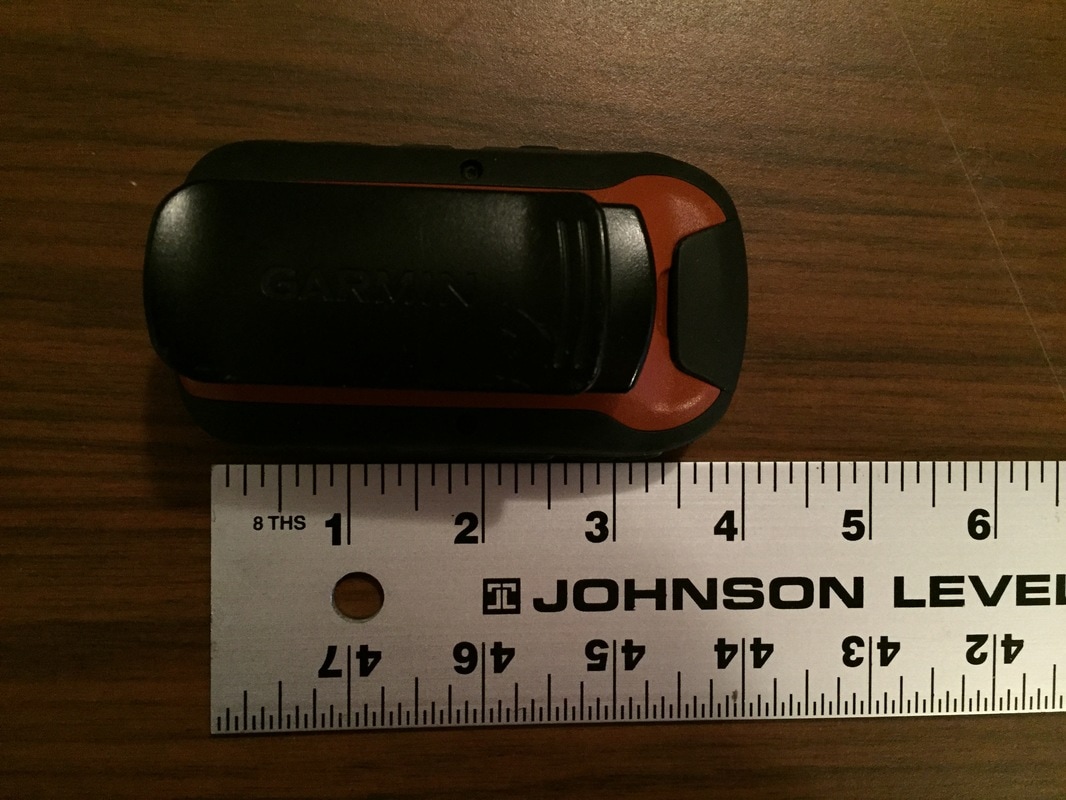
Physical CharacteristicsGarmin has built a rugged device that has withstood numerous falls to the ground. I did manage to scratch the screen when it slid across some gravel on a hill, but even that was minor. The integrated rubber around the edges of the device provide drop protection and also make it easy to grip, even with a wet or cold hand. Buttons on the sides of the device offer a convenient way to provide input. There is a navigation stick on the front of the device that enables you to scroll through the icons. A USB port on the back provides the ability to retrieve data using a PC or a Mac. The port is protected by a rubber cover that keeps out dirt and grime. Feature List
I typically only use this device to keep track of where I am and how far I have gone. However, the eTrex 20 provides a feature set far beyond my standard use. Major features include:
ConclusionI've had my eTrex 20 for at least four years. I've taken it on a variety of hiking adventures. It has consistently performed well for my needs. I imagine the eTrex 20x is even better. If you'd like to learn more, click here to see the Garmin eTrex 20x on amazon.com |